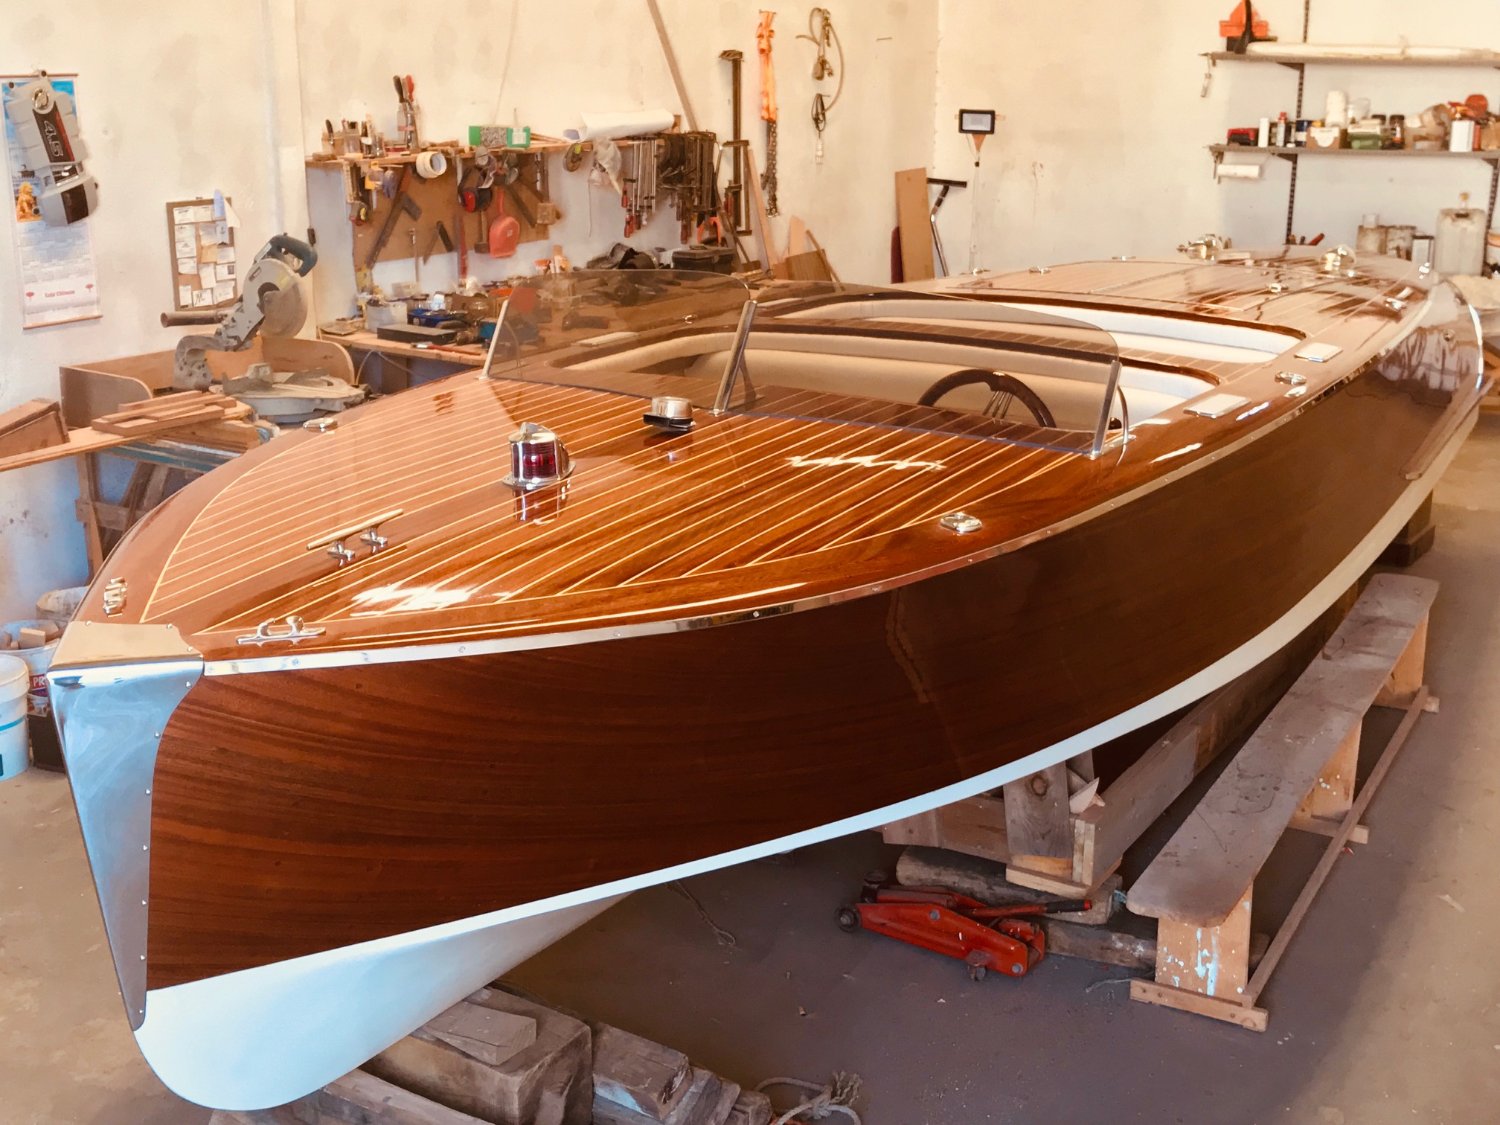
Step-by-Step Guide for Building a Wooden Yacht Hull with Free Plans
Building a wooden yacht hull is an ambitious project that requires significant time, skill, and dedication. However, the satisfaction of crafting a vessel from scratch and the unique character of a wooden hull make it a rewarding endeavor. This guide provides a comprehensive step-by-step process for constructing a wooden yacht hull using free plans, encompassing crucial aspects from design selection to finishing.
1. Choosing Your Design
The first step is selecting a suitable yacht hull design. This decision involves considering factors like the desired size, type of sailing or power propulsion, and your personal preferences. Thankfully, numerous free plans are available online from sources such as:
- Boat Design Net: A popular resource offering a wide range of free boat plans, including yacht designs.
- The Wooden Boat Forum: A vibrant community where members often share free plans and build logs.
- Naval Architect Websites: Some naval architects provide free plans for specific designs or as promotional materials.
Understanding the Plans
Once you have chosen a plan, carefully study it to understand the construction methods, materials, and dimensions. The plans will typically include:
- Lines Plans: These represent the shape of the hull in different views, outlining the curves and contours.
- Construction Drawings: Detailed illustrations showing how the hull is assembled, including frame layouts and plank arrangements.
- Material Lists: A comprehensive list of timber types, sizes, and quantities needed for the build.
2. Gathering Materials and Tools
After finalizing your design, acquire the necessary materials and tools. This phase demands meticulous planning and accurate budgeting.
Timber Selection
The quality of timber significantly impacts the strength and longevity of your hull. For a yacht, traditional choices include:
- Oak: Known for its strength, durability, and resistance to decay.
- Mahogany: Highly prized for its beauty, workability, and resistance to rot.
- Cedar: Renowned for its natural insect-repelling properties and pleasant aroma.
Ensure that the timber is kiln-dried to prevent warping and cracking. Consider purchasing timber from reputable suppliers specializing in boatbuilding materials.
Tools and Equipment
A comprehensive set of tools is essential for successful hull construction. The list may include:
- Hand Planes: For shaping and smoothing timber.
- Saws: Crosscut, rip, and coping saws for cutting timber.
- Chisels: For carving and shaping wood.
- Drills: For creating holes and fastening components.
- Clamps: For holding and securing parts during assembly.
- Measuring Tools: Tapes, rules, squares, and protractors for accurate measurements.
3. Building the Frames
Frames form the skeletal structure of the hull, defining its shape and providing support for the planking.
Creating the Molds
First, construct molds based on the lines plans. Molds are templates made from plywood or another sturdy material, representing the shape of the hull in cross-section at various points. The molds serve as guides for shaping the frames.
Assembling the Frames
Frames are typically constructed from timber, often using a combination of keelson, stem, sternpost, and ribs. The frames are assembled using traditional joinery techniques like mortise and tenon joints, or modern methods like epoxy bonding and mechanical fasteners.
4. Planking the Hull
Planking involves covering the frame structure with wooden planks to create the watertight hull.
Selecting the Planks
Use high-quality planks of appropriate thickness and width. The planks are often shaped and steam-bent to conform to the hull's curves.
Laying the Planks
Planking is typically laid from the keel upwards, starting with the bottom planks. Each plank is carefully fitted and fastened to the frames using techniques like:- Copper Fasteners: Historically preferred, providing excellent durability and resistance to corrosion.
- Epoxy and Screws: A modern approach that offers strength and ease of application.
The planks are carefully sealed and caulked to prevent water ingress.
5. Finishing the Hull
The final stage involves finishing the hull to enhance its durability and appearance.
Sanding and Fairing
Sanding the hull smooths out any imperfections and prepares it for the next step. Fairing involves shaping the hull to ensure a smooth, flowing surface.
Applying Coatings
Coating the hull with paint or varnish protects it from water damage, marine growth, and UV rays. Primer coats are applied before the top coats, ensuring proper adhesion.
6. Launching and Testing
After completion, the hull is carefully launched and inspected for leaks or other issues. Test sails or runs are conducted to evaluate the vessel's performance and make any necessary adjustments.
Safety Considerations
Building a wooden yacht hull is a complex undertaking that requires careful planning and safety precautions. Ensure that you are familiar with the following:
- Use Proper Safety Gear: Always wear appropriate safety gear, including eye protection, gloves, and hearing protection.
- Follow Tool Safety Guidelines: Ensure all tools are in good working condition and use them as intended.
- Work in a Safe Environment: Maintain a clean and organized workspace, and ensure that all tools and materials are stored securely.
Conclusion
Building a wooden yacht hull is a challenging but rewarding experience. By following these step-by-step instructions and exercising patience, you can craft a beautiful and functional vessel. Remember to research thoroughly, plan meticulously, and prioritize safety throughout the process. Enjoy the journey of creating your unique wooden masterpiece!
0 comments:
Post a Comment
Note: Only a member of this blog may post a comment.